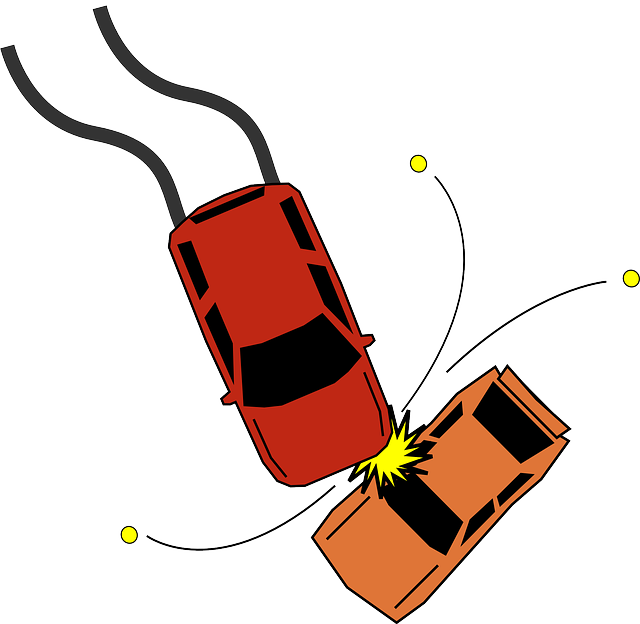
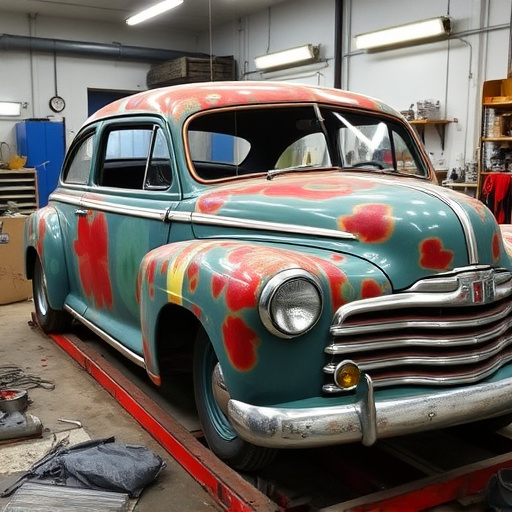


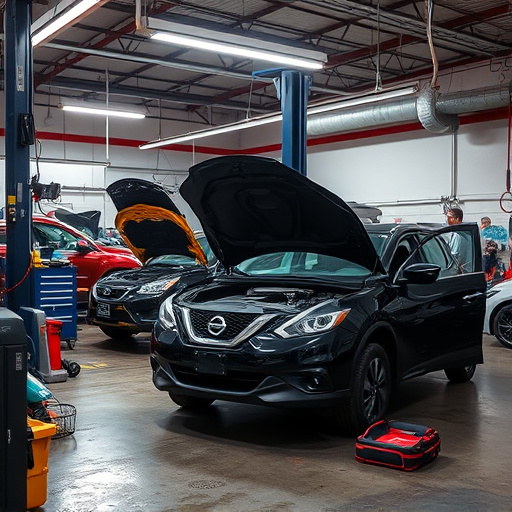
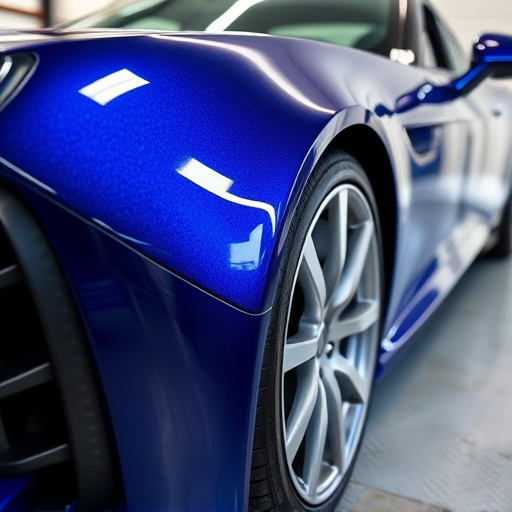

Hail damage can impair a vehicle's appearance and value by creating pockmarks on metal panels. Minor dents may be acceptable but severe damage can compromise structural integrity. Auto collision centers offer specialized services like paintless dent repair for luxury vehicles, retaining value after hail incidents. Effective vehicle dent fixing requires specific tools, materials, and a systematic approach, including assessment, tool gathering, cleaning, panel removal (if needed), smoothing, filling, sanding, painting, and reinstallation.
Vehicle dent fixing is a crucial skill for car owners, especially in regions prone to hailstorms. Understanding how to repair hail damage not only saves costs but also ensures your vehicle’s aesthetic appeal. This comprehensive guide delves into the process of effective vehicle dent fixing, from identifying and assessing damage to using the right tools and techniques. By following these steps, you can expertly navigate the task of repairing hail-induced dents, preserving your car’s value and looks.
- Understanding Hail Damage and Its Impact
- Tools and Materials for Dent Repair
- Step-by-Step Guide to Effective Vehicle Dent Fixing
Understanding Hail Damage and Its Impact
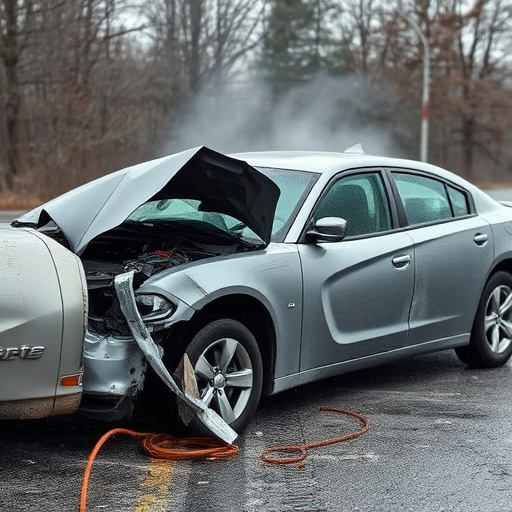
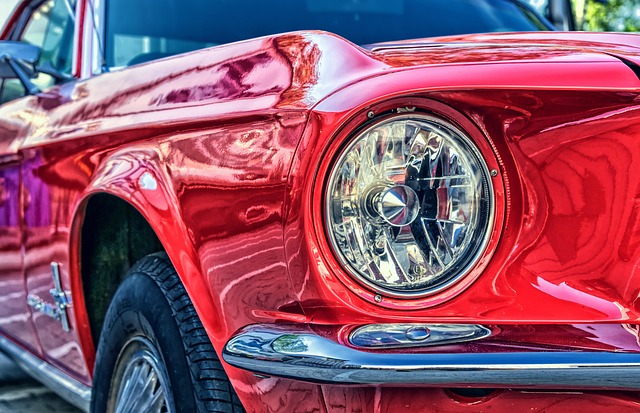
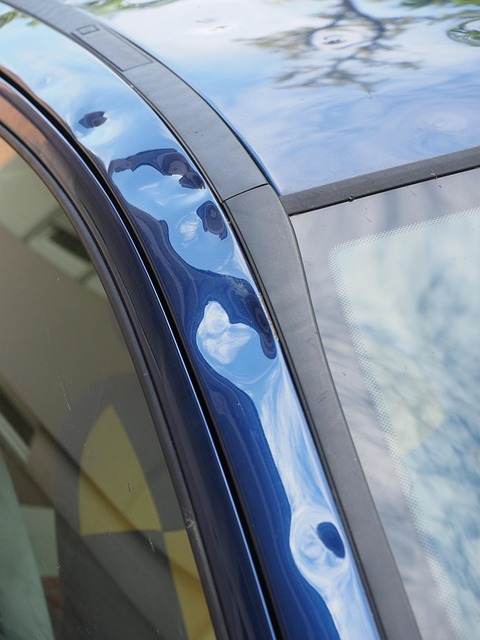
Hail damage can leave unsightly dents on a vehicle’s exterior, impacting its overall appearance and value. Understanding this type of damage is crucial for effective vehicle dent fixing. Hailstones, varying in size from tiny pebbles to large ice chunks, create pockmarks when they collide with a car’s surface at high speeds. These impacts can deform the metal panels, resulting in dents that range from shallow indentations to deep, complex shapes.
While minor dents may be cosmetically acceptable, severe hail damage can compromise the structural integrity of a vehicle. Ignoring these issues is not advisable as it could lead to further complications and more expensive repairs. That’s why many auto collision centers offer specialized services like paintless dent repair for luxury vehicles, ensuring that cars not only look their best but also retain their value after such incidents.
Tools and Materials for Dent Repair
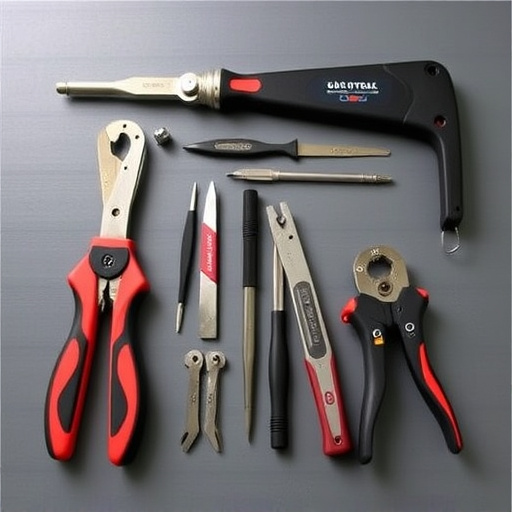
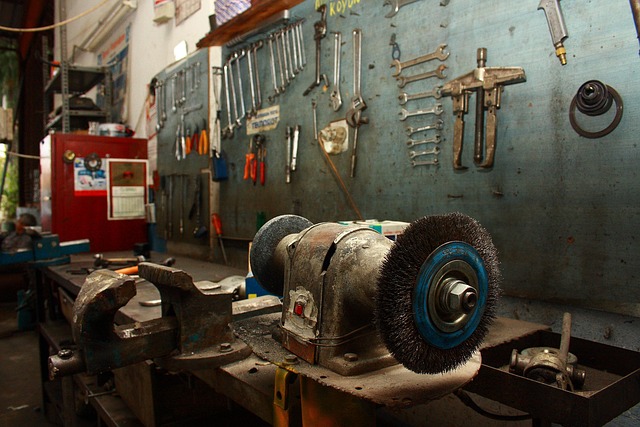
To effectively undertake vehicle dent fixing, specifically for hail damage, several specialized tools and materials are essential. The process often requires a combination of manual dexterity and the use of advanced equipment to ensure precise and thorough repairs. Among the common tools needed are plastic hammers, dent pullers, putty knives, sandpaper (various grits), and a vacuum cleaner. These tools facilitate the removal of dents, shaping of the car body panel, and cleaning up excess material.
For effective vehicle dent fixing, materials such as auto-grade body filler, primer, paint, and clear coat are crucial. The body filler is used to fill in depressions, while the primer acts as a base for painting, ensuring better adhesion. Paint and clear coat not only restore the aesthetic appeal of the car but also protect the repair area from future damage. Many collision centers or auto body services stock these materials to offer comprehensive car body repair solutions to their clients, enhancing vehicle aesthetics and safety after a collision.
Step-by-Step Guide to Effective Vehicle Dent Fixing
Repairing hail damage on your vehicle is a process that can be accomplished effectively with the right tools and techniques. Here’s a step-by-step guide to help you get started with vehicle dent fixing:
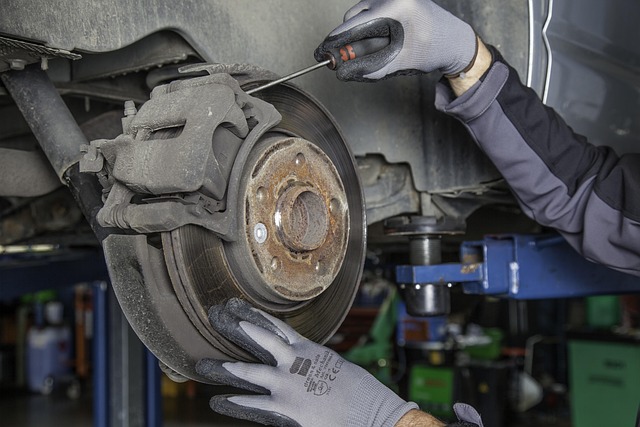
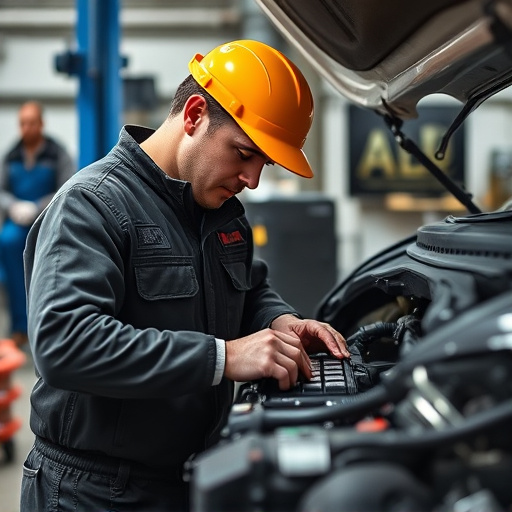
1. Assess the Damage: Inspect the affected area thoroughly. Identify the extent of the dents, their size, and depth. This will determine the appropriate repair method required for each dent. Remember, some minor dents can be fixed at home using DIY kits, while more severe damages might necessitate professional automotive collision repair.
2. Gather Your Supplies: Depending on the severity, you’ll need items like a dent puller, pry bar, hammer, plastic mallet, and putty knife. For more intricate repairs, consider investing in a bumper repair kit designed specifically for your vehicle’s make and model.
3. Preparation: Ensure the area is clean and free of debris. Remove any dirt or dust that might interfere with the repair process. If necessary, use compressed air to blast away any particles.
4. Remove Excess Material: Using the appropriate tool, carefully pry out the damaged panel or dented area. This step requires precision to avoid causing further damage. Once removed, set it aside for later use in replacing the panel (if needed).
5. Smoothen and Shape: With the dent now exposed, use the dent puller to gently press down on the dented area, slowly returning it to its original shape. Work methodically to ensure a smooth surface.
6. Fill and Sand: Apply putty or filler to the dent using a putty knife, creating a smooth layer over the repaired area. Let it dry as per the product instructions. Once dry, sand the area gently to achieve a seamless finish that matches your vehicle’s original panel.
7. Paint (if necessary): If the damaged area was a body panel, you may need to paint it to match your car’s color accurately. This step requires skill and precision to ensure an unnoticeable repair.
8. Reinstall: Once satisfied with the repairs, carefully reinstall the panel or piece that was removed earlier. Ensure all hardware is secure and tight.
Vehicle dent fixing is a practical skill that can save you time and money. By understanding hail damage, gathering the right tools and materials, and following a step-by-step guide, you can effectively repair dents on your vehicle at home. Remember, proper preparation and patience are key to achieving professional-looking results in vehicle dent fixing.