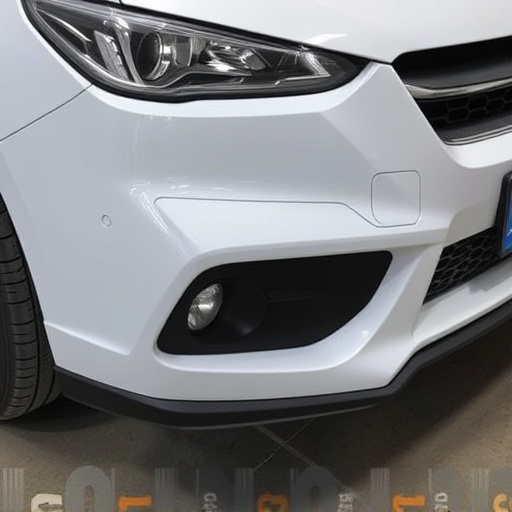


Vehicle dent fixing is a DIY process using tools like dent pullers and putties to repair car body dents. For minor damage, DIY kits offer an affordable alternative to professionals. This guide covers gathering tools, cleaning, heating, and using a dent puller for efficient removal. Severe cases require professional services.
Looking to fix those pesky car dents yourself? DIY vehicle dent fixing is a popular choice for many, offering cost-effective and convenient solutions. In this comprehensive guide, we’ll explore the best products designed for DIY dent repair, empowering you with the knowledge to tackle those unsightly dents. From understanding essential tools and techniques to a step-by-step process, get ready to transform your vehicle’s exterior without breaking the bank.
- Understanding Vehicle Dent Fixing Tools and Techniques
- Top Picks for DIY Dent Repair Kits
- Step-by-Step Guide to Effective Vehicle Dent Removal
Understanding Vehicle Dent Fixing Tools and Techniques
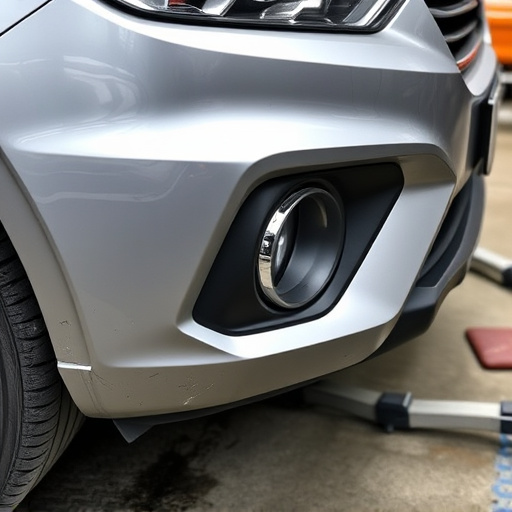
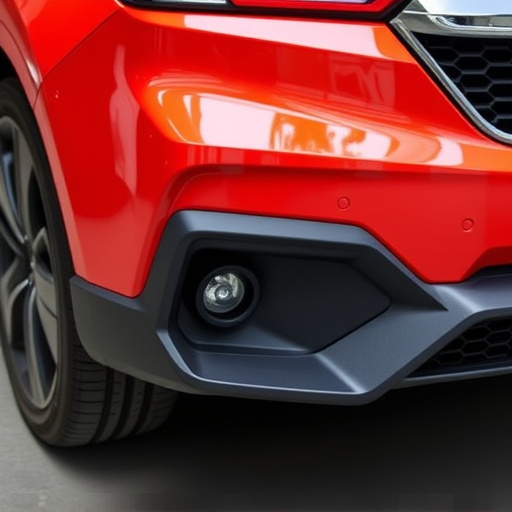
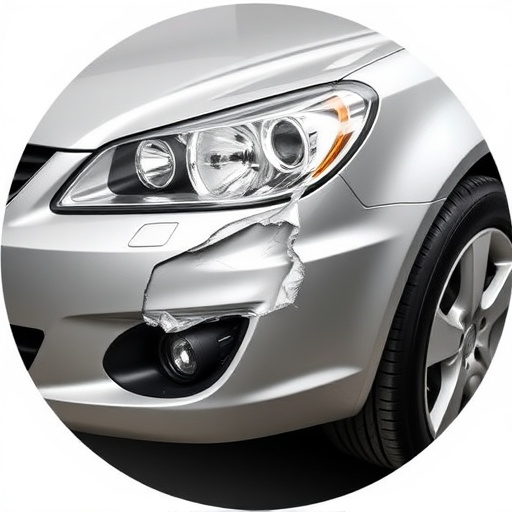
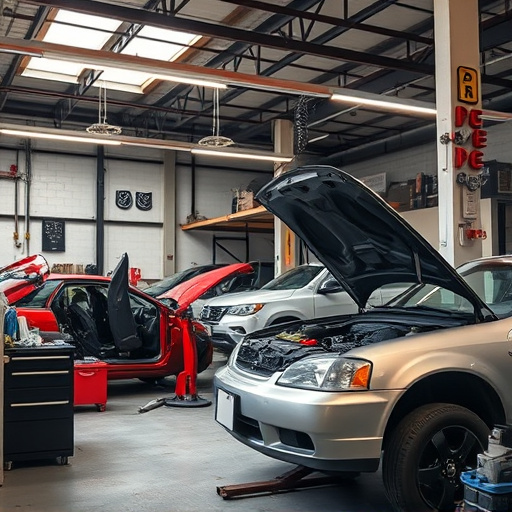
Vehicle dent fixing is a process that involves repairing dents and dings on car bodies, restoring them to their original condition. Understanding the tools and techniques used in this process is crucial for anyone considering DIY vehicle dent fixing. Common tools include hammering tools, such as dent pullers and pry bars, which are designed to gently remove the dent from the metal without causing further damage.
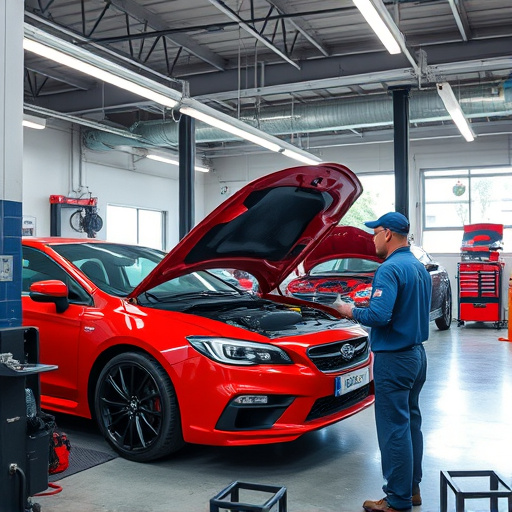
Additionally, there are various compounds and putties used to fill and smooth out dents. These products come in different formulations, each suited for specific types of dents. Once the dent is filled, a careful sanding process follows to ensure an even surface. This preparation work is essential before painting, as it guarantees a seamless finish. For more severe damages, including auto glass replacement, professional services might be required due to the precision and specialized equipment involved in such auto body repairs.
Top Picks for DIY Dent Repair Kits
When it comes to DIY vehicle dent fixing, choosing the right tools is key for achieving a professional-looking repair. Top picks include comprehensive dent repair kits that are designed for both beginners and experienced enthusiasts. These kits often come with a range of tools, such as claw hammers, plastic scrapers, and gel or foam fillers, allowing you to handle various types of dents.
One popular option is the mercedes benz repair kit, which caters to those looking to restore their classic cars. These kits are known for their high-quality materials and precise tools, ensuring effective fender repair. Whether you’re dealing with minor scratches or larger dings, well-recommended DIY dent repair kits offer a cost-effective alternative to professional services, empowering car owners to take control of maintaining their vehicles’ aesthetics.
Step-by-Step Guide to Effective Vehicle Dent Removal
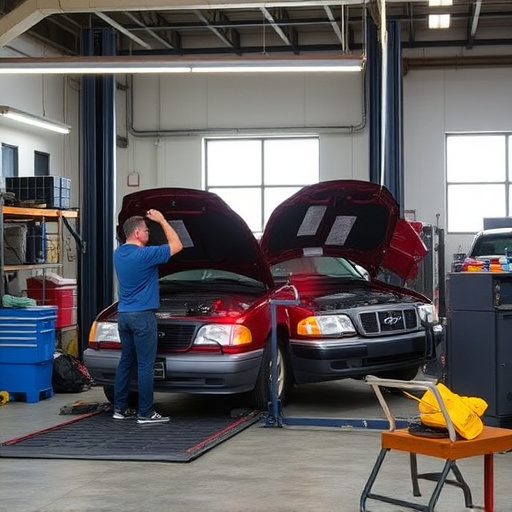
Removing dents from your vehicle’s exterior is a DIY project that can save you time and money, especially for minor damages. Here’s a step-by-step guide to help you achieve effective vehicle dent fixing:
1. Assess the Dent: Start by inspecting the dent carefully. Determine its size, depth, and location on the vehicle. Different areas of a car have varying levels of accessibility, so plan your approach accordingly. For smaller dents, a DIY kit might be sufficient, while larger or deeper ones may require professional tools.
2. Gather Your Tools: Basic tools needed for autobody repairs include a dent puller (also known as a slide hammer), a mallet, and some type of soft cloth. More advanced kits can provide various size dent pulls and tools designed specifically for curved surfaces. If you’re tackling a classic car restoration, consider investing in high-quality tools that align with your vehicle’s make and model to ensure precise results.
3. Prepare the Area: Clean the dented area thoroughly using water and soap. Dried residue can lead to poor adhesion when applying fixative products. Ensure the surface is dry before proceeding. Remove any debris or loose material trapped within the dent.
4. Apply Heat (Optional but Recommended): Using a heat gun set at a safe distance, apply heat to the dented area for a few minutes. This step helps to expand the metal slightly, making it easier to pop out the dent. Be cautious not to overheat, as it could damage the paint or surrounding panels.
5. Use the Dent Puller: Place the dent puller’s prong beneath the dent, ensuring good contact with the metal. With a steady hand and controlled force, tap the mallet on the handle of the puller while keeping the prong in place. The dent should begin to pop out gradually. Work slowly and carefully to avoid causing further damage or creating new dents.
6. Repeat as Needed: Depending on the severity, you may need to repeat this process several times, working around the edges of the dent to release the tension in the metal. For more stubborn dents, consider using additional tools from your kit or seeking advice from an autobody repair expert.
DIY vehicle dent fixing is an accessible way to restore your car’s exterior without breaking the bank. By understanding the tools and techniques, choosing the right DIY dent repair kit, and following a comprehensive guide, you can effectively remove dents and achieve professional-looking results. With these tips and the right products, take control of your vehicle’s appearance and save on costly body shop repairs.